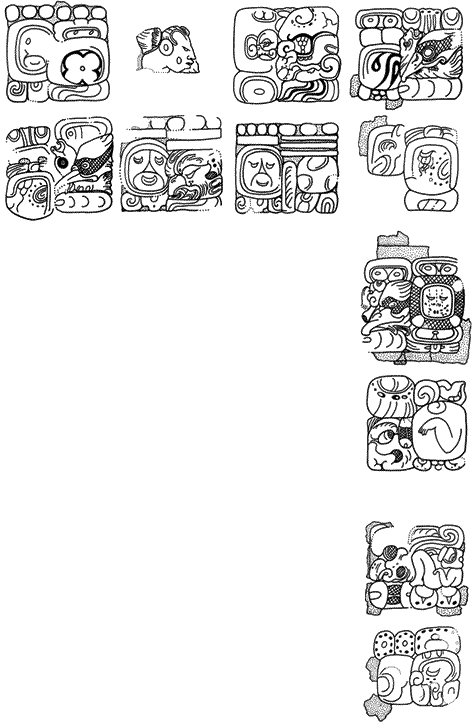
Click glyphs to view close-ups and photographs
| Note that the fragmentary glyph, second from the left at the top, was not included in the restored panel. This was because the restoration team was not certain where to place it within the block from which it came. But the archaeologists are certain from the context in which it was found that it is one of the glyphs from this panel and that it goes somewhere in that block. (Drawing by Cristin Cash.) |